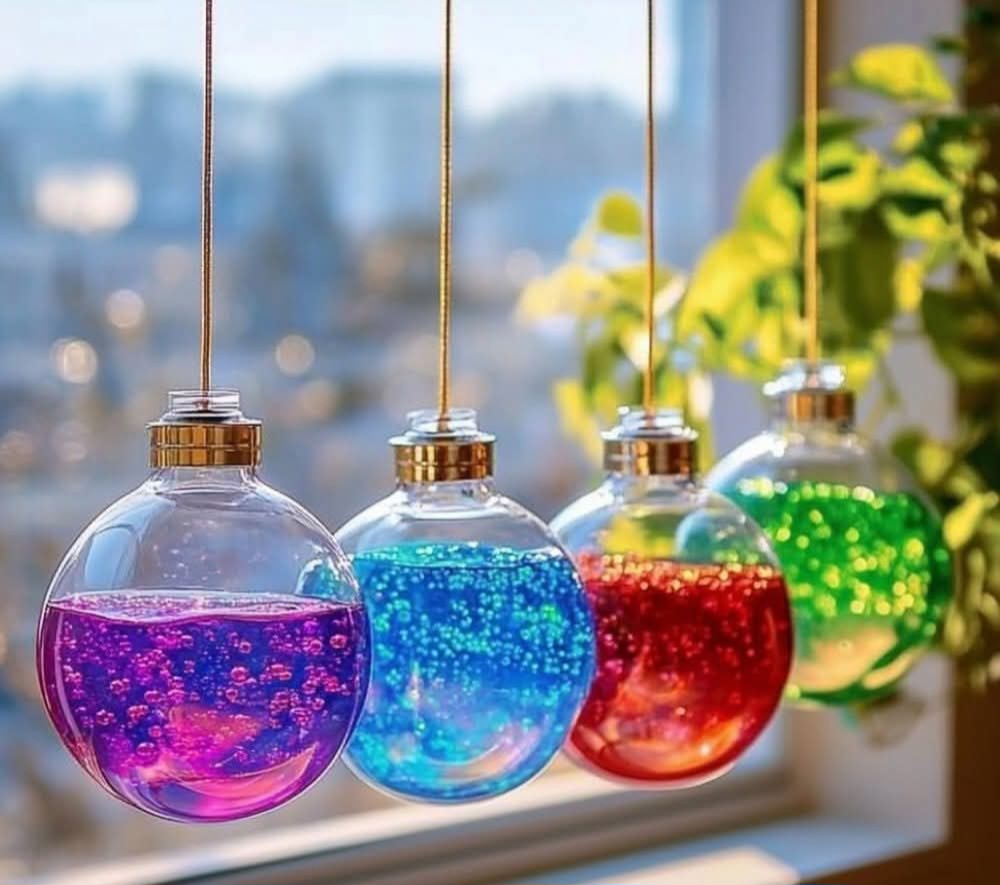
Ingredients:
- 4–6 clean plastic lids
- Clear school glue
- Liquid food coloring (red, orange, blue, yellow, green)
- Vegetable oil or baby oil
- Toothpicks or cotton swabs
- Hole punch or skewer
- String or suction cup hooks
- Wax paper or tray
Directions:
1. Set up a clean workspace by laying out wax paper or lining a tray to catch any spills.
2. Place the plastic lids upside down, ensuring they are clean and dry.
3. Squeeze an even layer of clear school glue into each lid until it forms a thin base layer. The glue should cover the bottom completely but not overflow.
4. Add 2–4 small drops of various food coloring around the inside edge of the lid. Space them out so that they can swirl together without blending too much at this stage.
5. Carefully add 1–2 teaspoons of vegetable oil on top of the glue and food coloring. This will create the "lava" effect as the two liquids will not mix.
6. Use a toothpick or cotton swab to lightly swirl the oil through the glue and food coloring, creating abstract blobs and trails. Be gentle to avoid breaking the surface of the glue layer.
7. Allow the suncatchers to dry completely in a flat, undisturbed area for 3–5 days. Ensure they are not moved during this time to keep the design intact.
8. After they are fully dry, gently peel the suncatchers from the plastic lids. If the glue has stuck a bit, you can use a skewer to carefully lift the edges.
9. Make a small hole at the top of each suncatcher using a hole punch or skewer, then thread a piece of string through the hole or attach a suction cup hook to hang.
Tips & Variations:
1. Experiment with different color combinations to create unique designs. Mixing colors can yield interesting results, but be cautious not to over-swirl them, or you may end up with muddy colors.
2. You can add glitter or small sequins to the glue before it dries for an extra touch of sparkle and texture in your suncatchers.
